Hey there, lovely foodies! Anisha here, your friendly kitchen adventurer, and today I’m absolutely buzzing to share one of my ultimate secret weapons for conquering weeknight dinners: perfectly cooked, thin-sliced chicken breast in a pan! If you’ve ever found yourself staring into the fridge at 6 PM, wondering what quick, healthy, and downright delicious meal you can whip up, then you’re in the right place. This method is a game-changer, promising juicy, tender chicken every single time without any fuss. So, let’s get that skillet ready and dive into the magic!
Why Thin-Sliced Chicken Breast is Your Weeknight Winner
Let’s be real, chicken breasts can sometimes get a bad rap for being dry or bland. But when you go thin-sliced, it’s a whole different story! Here’s why this cut is about to become your new best friend:
- Speed Demon: This is the number one reason! Thin chicken cooks in mere minutes, making it ideal for those hectic evenings when time is of the essence.
- Always Tender: Because it cooks so quickly and evenly, there’s less chance of drying it out. Hello, consistently juicy results!
- Flavor Sponge: Thin slices have more surface area relative to their thickness, which means they soak up marinades and seasonings beautifully, delivering maximum flavor in every bite.
- Versatility King: From salads and sandwiches to pasta dishes and stir-fries, thin-sliced chicken breast is incredibly adaptable to almost any cuisine or dish you can dream up.
Gather Your Ingredients & Essential Pan-Searing Tools
Before we turn up the heat, let’s make sure we have everything prepped and ready to go. The beauty of this recipe is its simplicity!
Ingredients:
- 2-4 Thin-Sliced Chicken Breasts: You can buy them pre-sliced, or slice regular chicken breasts in half horizontally yourself.
- 1-2 tablespoons Olive Oil: Or your favorite high-smoke-point cooking oil like avocado or grapeseed oil.
- Salt & Freshly Ground Black Pepper: To taste, generous amounts are key!
- 1 teaspoon Garlic Powder: (Optional, but highly recommended for an extra flavor boost!)
- 1/2 teaspoon Paprika: (Optional, adds color and a subtle warmth.)
- Fresh Herbs (e.g., parsley, thyme): For garnish, optional.
Essential Pan-Searing Tools:
- Large Skillet: A non-stick, stainless steel, or cast-iron skillet (my personal favorite for a beautiful sear!) works best. Make sure it’s big enough to hold the chicken in a single layer without overcrowding.
- Tongs: Essential for flipping the chicken safely and easily.
- Meat Thermometer: Absolutely crucial for ensuring your chicken is cooked to a safe internal temperature (165°F / 74°C) without overcooking.
- Cutting Board & Sharp Knife: If you’re slicing your own chicken.
- Plate or Tray: For resting the cooked chicken.
Step-by-Step: Pan-Cook Thin Chicken Breast to Perfection
Follow these simple steps for chicken that’s tender, flavorful, and perfectly cooked every single time!
- Prep the Chicken: If your chicken breasts aren’t already thin-sliced, place a regular breast on a cutting board and carefully slice it horizontally into two thinner pieces. Pat both sides of each chicken piece thoroughly dry with paper towels. This step is CRITICAL for achieving a good sear!
- Season Generously: Sprinkle both sides of the chicken generously with salt, black pepper, garlic powder, and paprika (if using). Don’t be shy with the seasoning – it’s where all the flavor comes from!
- Heat the Pan: Place your skillet over medium-high heat. Add the olive oil and let it heat up until it’s shimmering and just starting to show wisps of smoke. This usually takes 2-3 minutes. A hot pan is key for that beautiful golden-brown crust!
- Sear the Chicken: Carefully place the seasoned chicken breasts into the hot skillet in a single layer. Do not overcrowd the pan! If necessary, cook in batches. Let the chicken cook undisturbed for 2-4 minutes, until it’s golden brown and easily releases from the pan.
- Flip and Finish: Flip the chicken breasts using your tongs and cook for another 2-4 minutes on the second side, until it’s also golden brown and cooked through.
- Check for Doneness: The best way to know for sure is to insert a meat thermometer into the thickest part of the chicken. It should read 165°F (74°C). If you don’t have a thermometer, you can make a small cut into the thickest part; the juices should run clear, and the meat should be opaque white.
- Rest the Chicken: Once cooked, transfer the chicken to a clean plate or cutting board. Loosely tent it with aluminum foil and let it rest for 5 minutes. This step is just as important as cooking, as it allows the juices to redistribute throughout the meat, ensuring maximum tenderness and flavor.
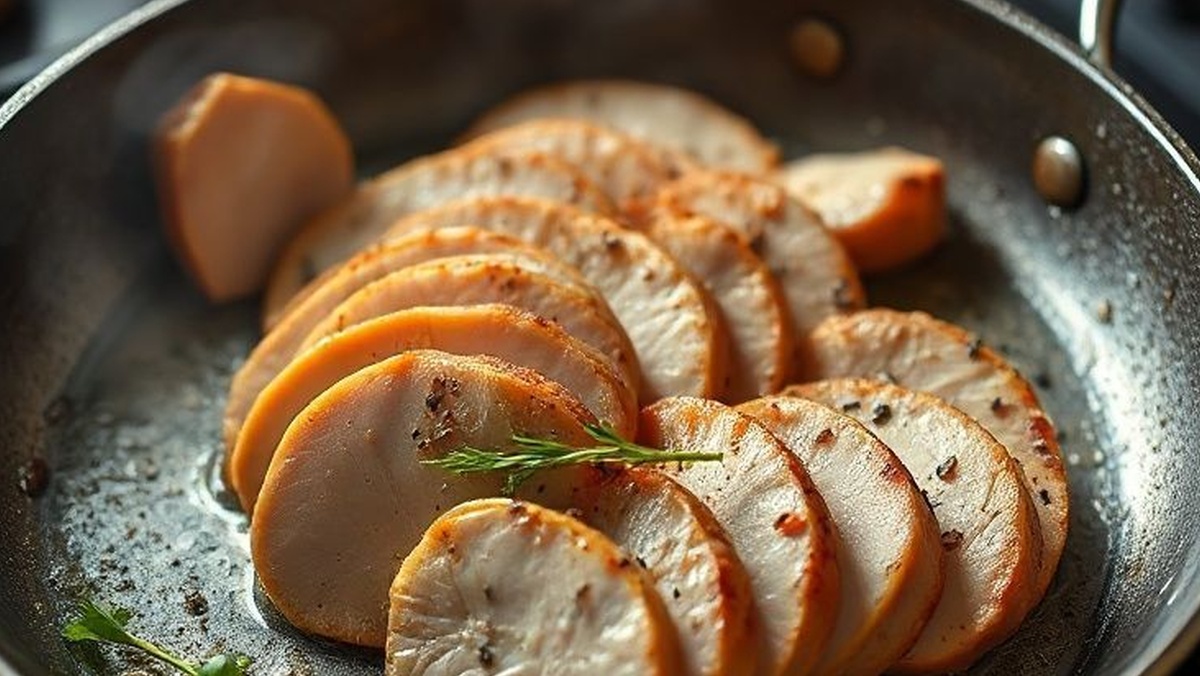
- Serve and Enjoy! Slice the chicken if desired, garnish with fresh herbs, and serve warm!
Mastering the Pan: Pro Tips for Juicy Results Every Time
Want to elevate your pan-seared chicken game? Keep these expert tips in mind for consistently perfect, juicy results:
- The Dryer, The Better: Seriously, patting the chicken dry is non-negotiable. Excess moisture steams the chicken instead of searing it, preventing that gorgeous crust.
- Don’t Overcrowd the Pan: This is a common mistake! Too much chicken lowers the pan’s temperature, leading to steaming instead of searing. Cook in batches if needed.
- Hot Pan, Cold Oil, Then Chicken: Ensure your pan is properly preheated before adding the oil, and let the oil heat up before adding the chicken. This prevents sticking and promotes a better sear.
- Resist the Urge to Flip Constantly: Let the chicken cook undisturbed for those crucial first few minutes on each side. This allows a beautiful crust to form.
- Trust Your Thermometer: It’s your best friend for avoiding dry, overcooked chicken. Pull the chicken off the heat right at 165°F (74°C).
- ALWAYS Rest Your Meat: This is not an optional step! Resting allows the muscle fibers to relax and reabsorb the juices, making the chicken incredibly tender and moist.
- Don’t Be Afraid of Seasoning: Chicken needs a good amount of salt and pepper to truly shine. Think about it: a little seasoning on each side goes a long way.
Flavor Boosters & Delicious Serving Suggestions
Once you’ve mastered the basic technique, the possibilities are endless! Here are some ideas to add extra flair to your thin-sliced chicken:
Flavor Boosters:
- Quick Marinades: Marinate for just 15-30 minutes before cooking! Try lemon-herb (lemon juice, garlic, oregano), honey-mustard, or a simple Italian dressing.
- Pan Sauce Power: After removing the chicken, deglaze the pan with a splash of white wine or chicken broth. Scrape up any browned bits, add a knob of butter, and a squeeze of lemon for an instant, flavorful sauce.
- Spice it Up: Experiment with different spice blends like chili powder, cumin, smoked paprika, or a dash of cayenne for a kick.
- Fresh Finishers: A squeeze of fresh lemon juice, a sprinkle of fresh chopped parsley or cilantro, or a drizzle of balsamic glaze just before serving can brighten up the flavors.
Delicious Serving Suggestions:
- Simple Side Salad: A quick green salad with a light vinaigrette is always a winner.
- Roasted Vegetables: Pair with your favorite roasted asparagus, broccoli, or bell peppers for a wholesome meal.
- Pasta or Rice: Slice the cooked chicken and toss it with your favorite pasta, a simple tomato sauce, or serve it alongside fluffy rice.
- Wraps & Sandwiches: Let the chicken cool slightly, then slice it for delicious chicken wraps with fresh veggies or a hearty sandwich.
- Grain Bowls: Serve over quinoa, farro, or couscous with some roasted veggies and a dollop of hummus for a super healthy and satisfying meal.
There you have it, my friends! Thin-sliced chicken breast in a pan is not just a recipe; it’s a weeknight lifestyle hack. With these tips and steps, you’ll be cooking up perfectly tender, flavorful chicken faster than you can say “What’s for dinner?”
Happy cooking, and don’t forget to share your creations with me!
Hi! I’m the creator of scooks (Simple Cooks).I share easy, practical recipes and simple cooking ideas to help you enjoy everyday home cooking with confidence.
Happy cooking! 🍽️