Hi everyone! Anisha here, and I have a confession: I love baking, but sometimes I simply don’t want to turn on the oven. Maybe it’s a scorching summer day, or maybe I’m just feeling a little lazy. The last thing I want is to heat up the entire kitchen just for a little sweet treat. But here’s the thing about me and dessert—we can never be separated for long! So, over the years, I’ve mastered the art of creating delicious, impressive desserts without ever touching that pesky oven knob. Today, I’m sharing one of my absolute favorite, foolproof recipes that proves you don’t need heat to create magic.
Say Goodbye to the Oven: Easy No-Bake Dessert Recipes
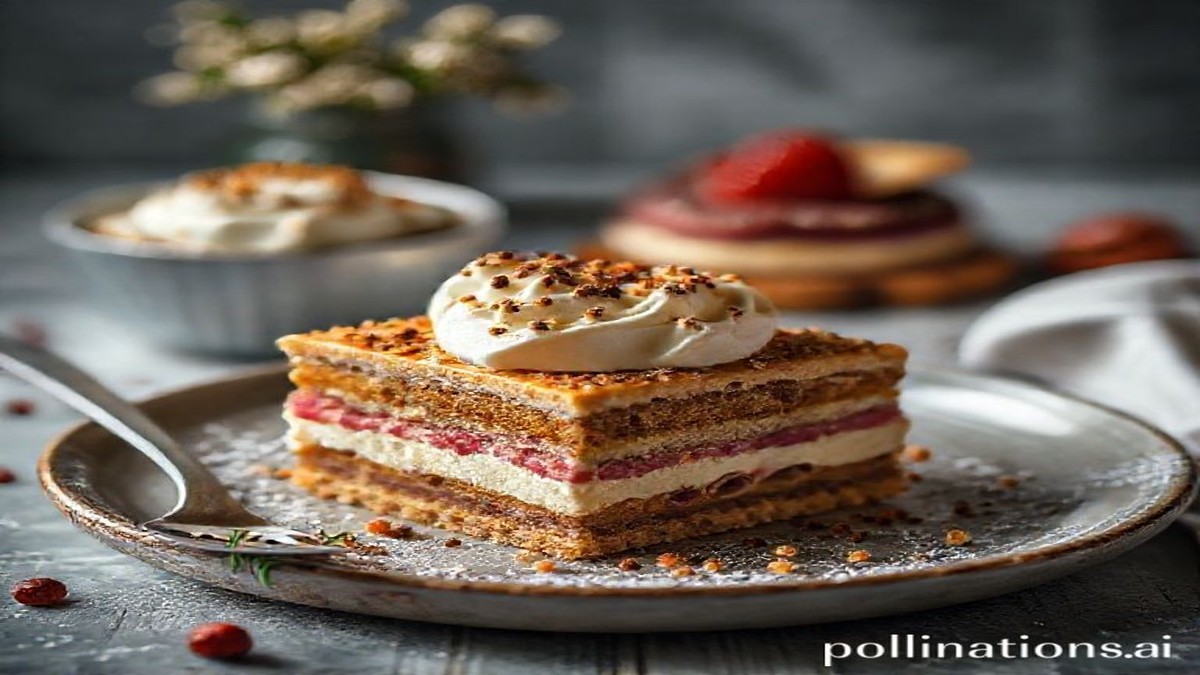
I’m talking about a no-bake wonder that truly redefines “easy dessert.” This recipe is perfect for last-minute gatherings, impromptu celebrations, or just satisfying a craving on a hot afternoon. We’re going to make a rich and creamy no-bake chocolate torte, sometimes called a biscuit pudding. It’s built on a crunchy crust and layered with a decadent, fluffy chocolate filling that sets perfectly in the refrigerator. The best part? It uses ingredients you probably already have in your pantry. No complex techniques, no fancy equipment—just pure, simple deliciousness.
The Appeal of Effortless No-Bake Desserts
For me, the charm of no-bake desserts goes beyond just avoiding the heat. It’s about minimizing stress in the kitchen while maximizing flavor. Think about it: traditional baking requires precision with temperature, careful timing, and constant monitoring. With a no-bake recipe, the hard work is done by the refrigerator. The chilling process allows the flavors to meld together beautifully and creates a stable, creamy texture that’s absolutely irresistible. It’s also incredibly forgiving. If you mess up a layer, it’s easy to smooth it over. If you want to customize the flavor, just add a new ingredient to the filling. It truly is baking’s laid-back, chill cousin (pun intended!).
Ingredients List: What You’ll Need for Your No-Oven Treat
This recipe is incredibly versatile. I usually opt for digestive biscuits for the crust, but you can easily swap them out for Oreos, Graham crackers, or even shortbread cookies depending on your preference. Here’s exactly what you’ll need for this decadent no-bake chocolate torte:
- For the Crust:
- 2 cups (approx. 200g) digestive biscuits (or your favorite plain biscuits/cookies)
- 1/2 cup (113g) unsalted butter, melted
- For the Filling:
- 1 1/2 cups heavy whipping cream
- 1 cup powdered sugar (icing sugar)
- 1/2 cup unsweetened cocoa powder
- 1 teaspoon vanilla extract
- Pinch of salt (it enhances the chocolate flavor!)
Instructions: Simple Steps for Dessert Perfection
Follow these simple steps, and you’ll have a gorgeous dessert ready for the fridge in no time at all. Remember, the key here is patience during the chilling phase—the longer it sets, the better it tastes!
- Prepare the Crust: First, crush your biscuits thoroughly. You can do this by placing them in a large Ziploc bag and smashing them with a rolling pin, or by using a food processor for a finer crumb. Once crushed, pour them into a mixing bowl and add the melted butter. Stir until all the crumbs are evenly coated.
- Form the Base: Press the biscuit mixture firmly into the bottom of a 9-inch pie pan or springform pan. Use the back of a measuring cup or glass to create a tight, even layer. Place the pan in the refrigerator while you prepare the filling.
- Whip the Filling: In a separate large mixing bowl, beat the heavy whipping cream on high speed until soft peaks begin to form. Sift in the powdered sugar and cocoa powder to avoid lumps. Add the vanilla extract and a pinch of salt. Continue beating until stiff peaks form. Be careful not to overbeat, or it might curdle.
- Assemble and Chill: Gently pour the chocolate filling over the prepared crust in the pan. Use a spatula to smooth the top. Cover the pan loosely with plastic wrap and return it to the refrigerator. Allow it to chill for at least 4 hours, or ideally overnight, until the filling is firm and set.
- Garnish and Serve: Before serving, you can lightly dust the torte with extra cocoa powder, add fresh berries, or shave some dark chocolate on top. To get clean slices, use a large knife dipped in hot water for each cut. Enjoy!
Pro Tips, Variations, and Common Questions (FAQ)
Anisha’s Pro Tips
- The Hot Knife Trick: For a clean slice every time, heat up your knife by dipping it in a tall glass of hot water and wiping it dry before cutting through the torte.
- Go Darker: If you love rich, intense chocolate, increase the amount of cocoa powder by an extra tablespoon or two.
- Don’t Rush the Chill: I know it’s tempting, but this recipe really needs time to set. If you try to cut it too early, the filling will be messy and won’t hold its shape.
Variations to Try
- Mint Chocolate: Add 1/2 teaspoon of peppermint extract to the filling.
- Coffee Mocha: Dissolve 1 tablespoon of instant coffee granules in a tiny bit of hot water before adding it to the cream mixture.
- Nutty Crunch: Fold in 1/2 cup of toasted, chopped pecans or walnuts to the filling for extra texture.
FAQ
Q: My filling isn’t setting properly. What did I do wrong?
A: This usually happens for two reasons: either the heavy cream wasn’t whipped to stiff peaks, or you didn’t chill it long enough. Make sure your cream is very cold before whipping, and ensure it holds its shape before adding the other ingredients. If it’s still soft after 4 hours, try letting it chill overnight.
Q: Can I freeze this dessert?
A: Yes! This recipe freezes beautifully. Cover it tightly and freeze for up to a month. Just remember to let it thaw in the refrigerator for a few hours before serving.
Q: Do I have to use digestive biscuits?
A: No, you don’t! You can substitute graham crackers for a different flavor profile, or even Oreos if you want to make a truly indulgent chocolate-on-chocolate dessert. Just make sure the amount of butter might need slight adjustment depending on how absorbent the biscuit is.
Hi! I’m the creator of scooks (Simple Cooks).I share easy, practical recipes and simple cooking ideas to help you enjoy everyday home cooking with confidence.
Happy cooking! 🍽️